
In aluminum formwork construction, the K panel is not the largest component, but it is a key detail for first-floor wall positioning, starter-wall formation and alignment at joints between floors. An accurately installed K panel gives the wall formwork above a dependable starting reference. If it is misaligned or loose, wall verticality errors, offsets at construction joints, grout leakage between floors and poor facade lines tend to follow in sequence.
K panels are sometimes treated on site as ordinary small infill panels, and that assumption creates hidden quality risks. In an aluminum formwork system, the K panel serves two distinct purposes: it establishes the first-floor reference and controls the construction joint between successive floors.
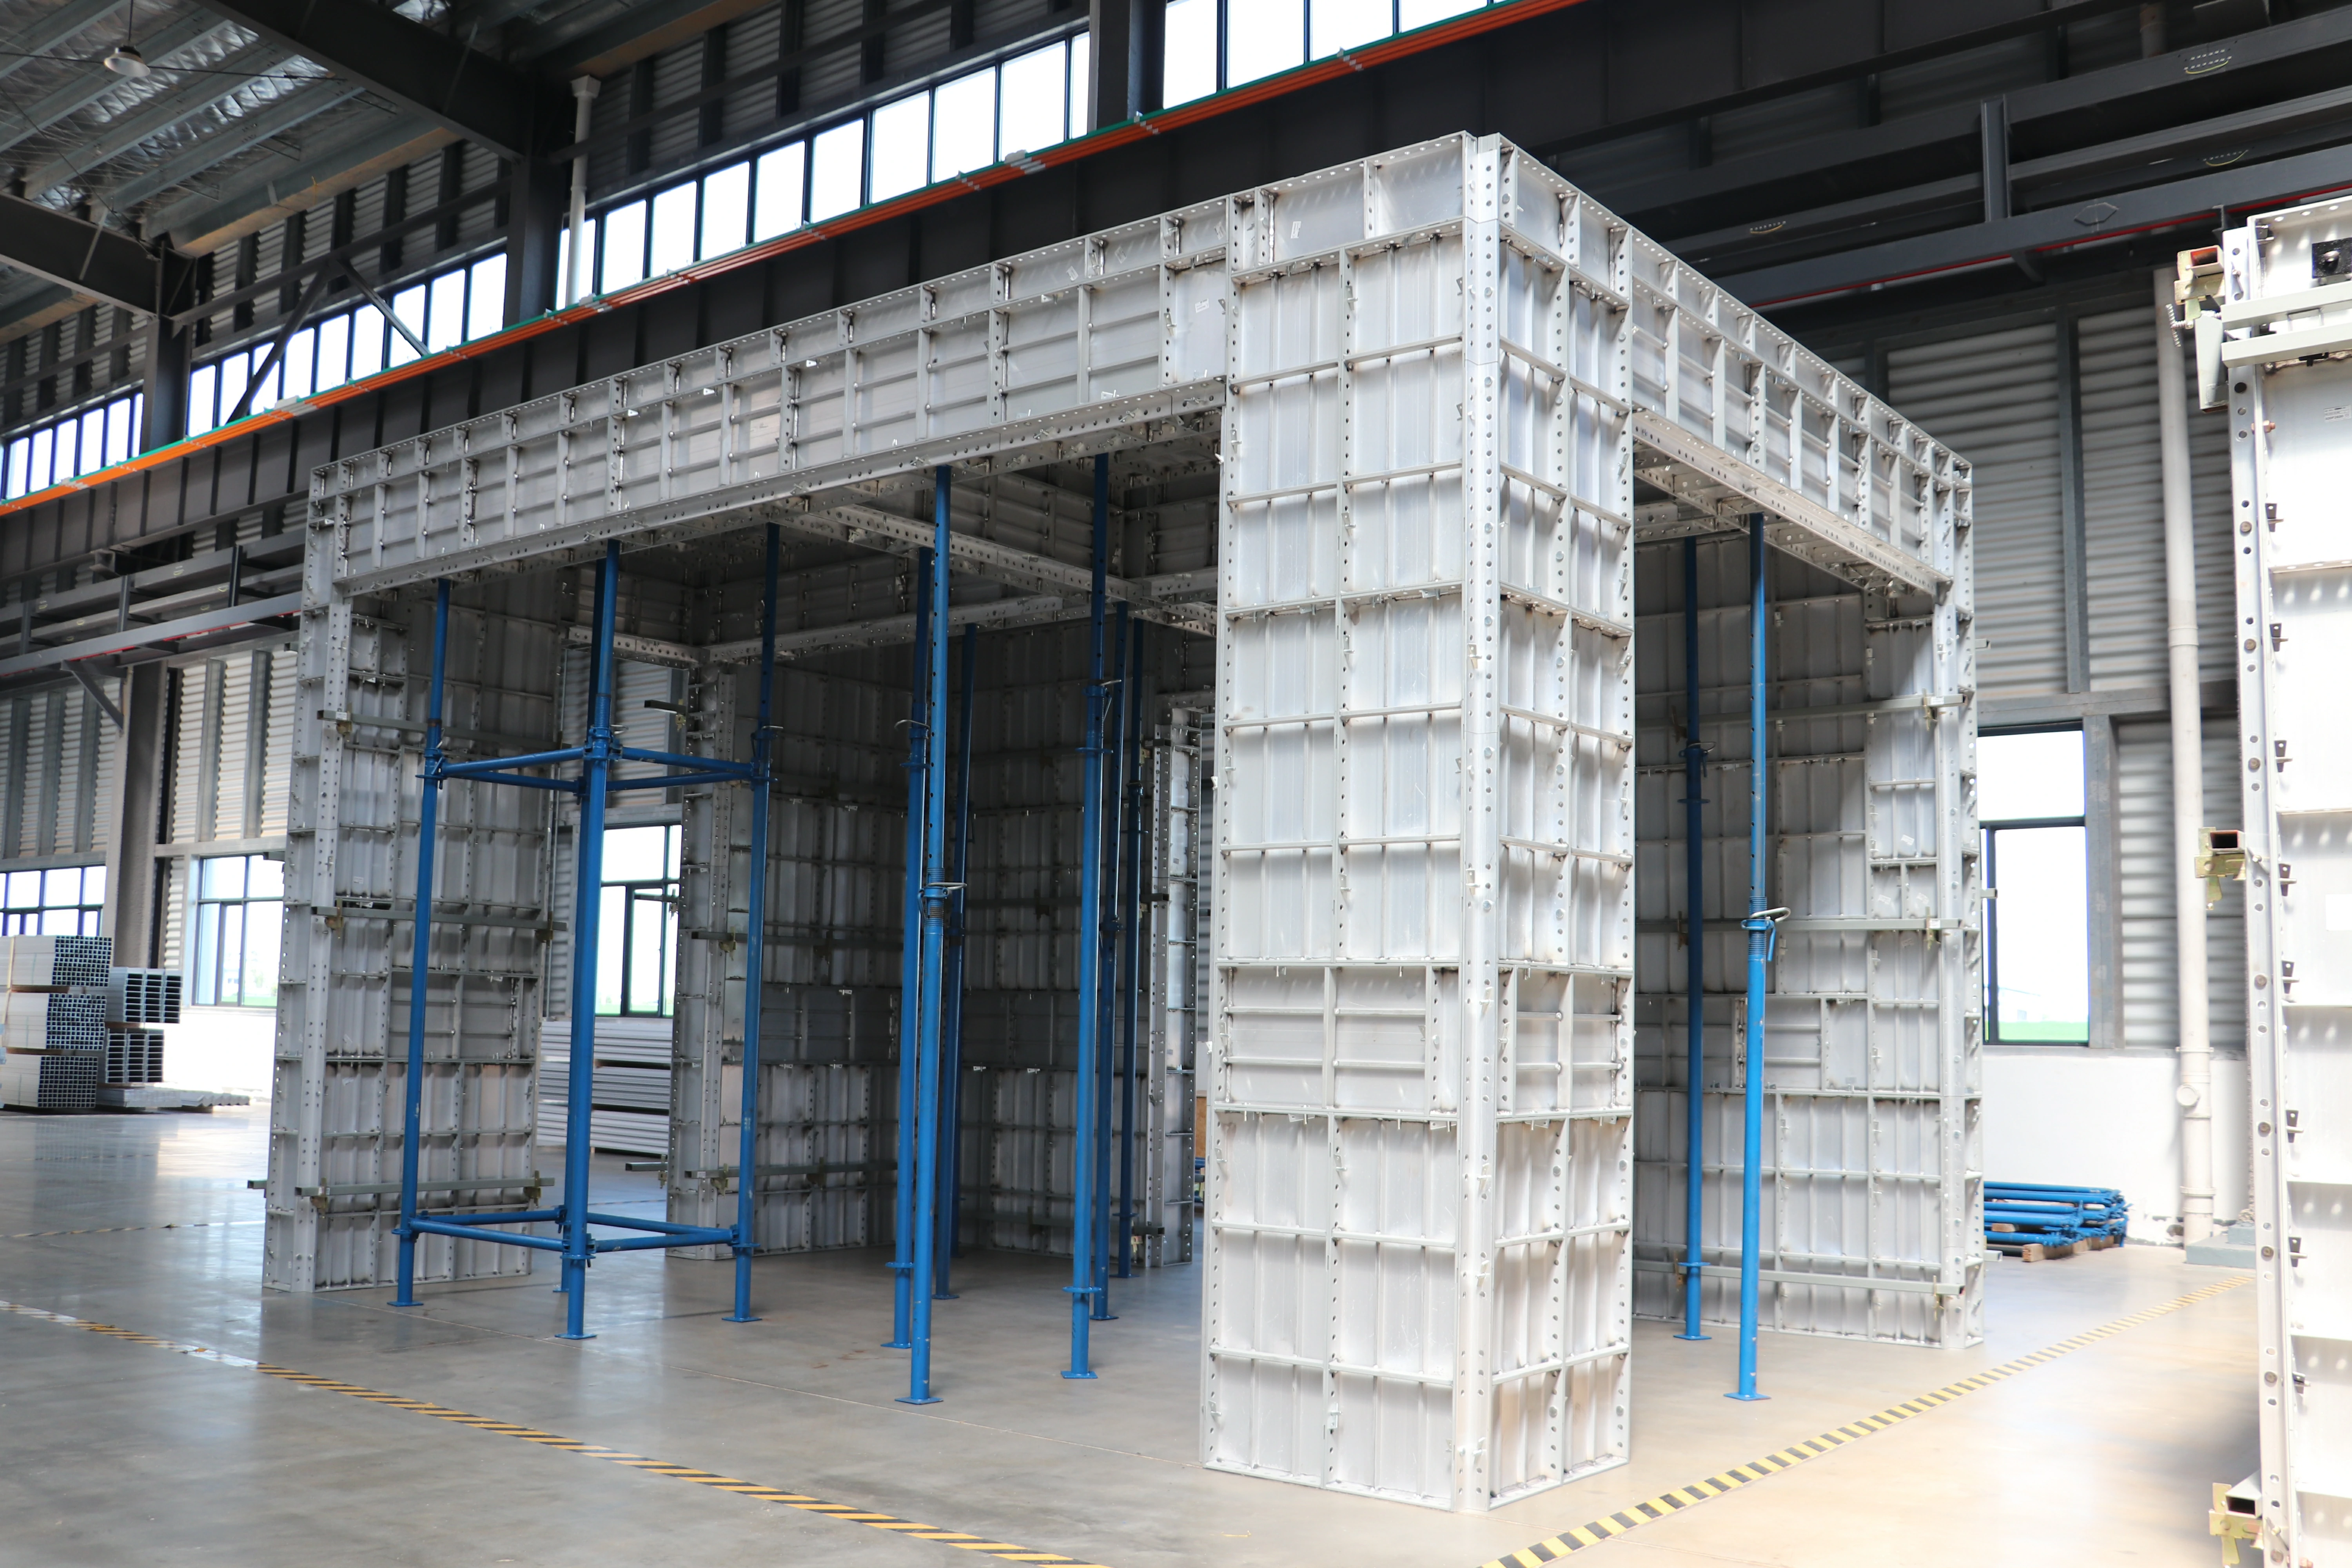
On residential aluminum formwork projects, K panels are generally positioned at the wall base, starter wall or inter-floor construction joint. They provide a positioning reference for the wall panels above, control the edge line of the horizontal construction joint and help keep walls aligned from one floor to the next. The K panel therefore affects both the initial wall position and whether the next-floor formwork can close and lock correctly.
From a construction-management perspective, the K panel cannot be judged by its dimensions alone. It must get three things right: the first-floor starter-wall edge line, the position of the next-floor wall panels, and the continued integrity of its edge ribs, holes and level reference after stripping and reuse. Losing control of any one of these points usually results in a defective inter-floor joint.
If a K panel is displaced on the first floor, the result on later floors is usually not a single isolated error. The entire wall line moves because the wall formwork above is positioned from the K panel. The initial error is copied floor after floor, eventually appearing as inter-floor offsets, uneven facade lines, misaligned door and window openings, or reduced clear space in lift shafts and stairwells.
The key is therefore not simply fitting the K panel, but closing the loop between the starter wall, wall edge lines, structural grid and level datum. If the starter wall is cast first and the K panel is positioned afterward, or if the panel is fixed before the edge line is checked, later correction with push-pull props and forced wall-panel adjustment can address only local points, not the overall relationship between floors.
| First-floor problem | Subsequent symptom | Area affected |
|---|---|---|
| Displaced edge line | Wall formwork above shifts inward or outward as a complete run | Entire wall line, openings and facade. |
| Incorrect elevation | Uneven K panel levels and an irregular wall-form starting line | Inter-floor joints and wall appearance. |
| Confused holes or panel numbers | Wall panels above are difficult to close, causing site rework | Installation efficiency and joint quality. |
| Crooked starter wall | Offsets between floors and an uneven wall face | Facade appearance and internal clear dimensions. |
| Inadequate reinforcement | K panel deforms during the first-floor pour | The same error is repeatedly transferred to later floors. |
The K panel may be small, but it cannot be omitted from the detailing process. Wall-panel layouts, starter-wall details, inter-floor joint details and panel-numbering drawings should define its location, length, segmentation, connection holes, relationship to wall panels, and interfaces with door and window openings, corners, upstands and stairwells. Typical floors should use standardized sizes where practical, while non-typical floors require separate components.
At a K panel junction, the decisive issue is not the dimension of a single component but its coordination with the first-floor starter wall, standard and special-size wall panels, internal and external corner panels and tie system. If that relationship is not resolved in the drawings, makeshift infill and mixed installation are likely on site.
The first rule of K panel installation is simple: establish accurate lines before erecting the panels. Before first-floor work begins, verify grid lines, wall edge lines, wall-thickness lines, starter-wall lines and the control level. The K panel position must agree with the structural drawings and provide the correct start for the formwork above. Many inter-floor offsets originate not in the panel itself, but in inaccurate first-floor setting out.
A typical sequence is to establish the starter-wall reference and setting-out lines, install and lightly secure the numbered K panels, check straightness, elevation and joints, and then lock the assembly together with adjacent wall, corner or opening panels. Installing the main wall panels first and forcing the K panel into the remaining gap commonly causes misaligned holes, clashing edge ribs and local twisting.
A K panel does not work independently of the wall formwork. It must close together with the starter wall, wall panels, corner panels and opening details. The starter wall establishes the first physical reference, the K panel transfers that reference to the formwork above, and the wall panels close the complete wall system. If these three elements are treated separately, the inter-floor joint will be difficult to align.
The most frequently overlooked interfaces are between the K panel and internal or external corners, short-wall stop ends and the sides of door and window openings. K panels at midspan on a long wall are easier to adjust; junctions are where problems tend to develop. Unless the K panel is checked together with the corner or opening panels, the wall formwork above may not engage tightly and can develop local offsets or inter-floor grout leakage.
| Interface | Main control | Quality risk |
|---|---|---|
| Starter wall and K panel | Matching edge lines and elevations, with a straight overall line | Displaced wall start and an offset at the starter wall. |
| K panel and wall panel | Aligned holes, tight joints and smooth engagement | Wall formwork above is difficult to close. |
| K panel and corner panel | Vertical alignment and continuous edge lines through the corner | Displaced inter-floor corners and offsets. |
| K panel and opening edge | Matching opening positions on successive floors | Misaligned door or window openings and poor appearance. |
| K panel and waler/tie system | Stable load transfer without deformation of the reference component | First-floor deformation copied throughout later floors. |
An inter-floor offset means that the starting reference for the wall formwork above was unstable or that the positioning relationship between floors was not closed. Typical causes include inaccurate K panel positioning, a crooked starter wall, failure to recheck vertical control lines before erecting the next-floor wall panels, residual mortar at the construction joint, and continued use of K panels with deformed ribs.
The cause should not be sought only on the upper floor. Many offsets originate on the first floor, while others arise when K panels are struck, moved or bent during handling and only become visible in the next cycle. The K panel is both an installation component and a managed reusable asset; it needs inspection and review on every floor.
Inter-floor joint control depends on closing three references: the edge line, vertical control line and level line. The edge line aligns the wall from floor to floor, the vertical line keeps the wall face straight, and the level line keeps the joint even. The K panel carries all three references across the floor interface, so each must be remeasured before the wall formwork above is erected.
In practice, first clean residual mortar from the joint and K panel, then inspect panel flatness and hole condition. Next check the edge line against the starter wall, verify the vertical control line, and finally check joint elevation. This sequence first establishes whether the panels can fit, then whether they align correctly, and lastly whether the finished joint will look even.
| Control line | What to verify | Control objective |
|---|---|---|
| Edge line | Relationship between the wall edge above and the K panel edge below | Prevent the wall from stepping inward or outward between floors. |
| Vertical line | Wall-face line, corner line and shaft line through successive floors | Keep the wall straight without a kink at the joint. |
| Level line | Joint elevation and starting elevation of the panels | Reduce offsets and uneven horizontal joints. |
| Wall-thickness line | Tie arrangement and clear distance between panels | Maintain consistent wall thickness between floors. |
| Opening line | Vertical continuity of door and window dimensions and positions | Prevent misaligned openings. |
Although a K panel occupies a small area at the wall base or inter-floor joint, its connections and reinforcement must not be reduced. It protects the starting reference for the formwork above and should never be treated as an auxiliary panel where hardware can be omitted.
Check that the K panel is securely locked, its edge ribs fit adjoining wall panels, its transitions to corners and openings are correct, and the wall walers and ties remain continuous at the starting level. If reinforcement is loose at the base, the lower part of the wall can still bulge, leak grout or develop an offset during casting even when the upper wall appears correctly aligned.
Even a well-positioned K panel can lose alignment if the wall base is subjected to heavy concrete impact or repeated contact from the poker vibrator. Around the first-floor starter wall and K panel, control the discharge rate, avoid concentrated one-sided impact and compact thoroughly without over-vibration. The formwork watch should focus on starting details, short-wall stop ends, corners and opening sides.
During stripping, prevent damage that would compromise later reuse. Many projects establish accurate positioning on the first floor but see the joints deteriorate after two or three cycles because K panels are handled roughly, their ribs deform and their holes wear. As a reference component, the K panel should be maintained to a higher standard than ordinary infill panels.
| Quality problem | Possible cause | Control measure |
|---|---|---|
| Offset between floors | Inaccurate first-floor K panel position or no line check before erecting the upper floor | Set out the first floor precisely and recheck edge and vertical lines before the next-floor start. |
| Grout leakage at the joint | Loose starting joint, missing connectors or residual mortar | Clean the joint, install all connectors and seal as specified where necessary. |
| Wall not straight through successive floors | Crooked starter wall, deformed K panel or inadequate starting reinforcement | Align the starter wall and K panel reference together and replace damaged components promptly. |
| Openings misaligned between floors | K panel and opening edge not controlled together | Include opening edge lines in the inter-floor line check. |
| Movement at short-wall end | Weak reinforcement at the start or an unlocked corner junction | Strengthen starting reinforcement at short-wall ends and corners. |
| Quality deteriorates with each reuse | Damaged K panels remain unrepaired or numbering is confused | Introduce separate inspection and numbering controls for reference panels. |
No. They establish the initial reference on the first floor, but their main value is continuing to provide a reliable starting position on later floors. First-floor positioning, maintenance during reuse and line checks on upper floors are equally important.
First check whether the first-floor K panel was positioned accurately. Then confirm that edge, vertical and level lines were remeasured before the upper-floor start, and inspect the K panel for deformation and the joint for residual mortar.
It is not recommended. A K panel is a reference component; deformed ribs, worn holes or a twisted face directly affect the starting position of the wall formwork above. Repair or replace it rather than carrying the damage into another cycle.
Not necessarily. A straight starter wall is only the foundation. Panel number, edge line, elevation, holes and compatibility with adjoining wall panels must also be checked as a complete assembly.
A supplier can reduce site rework through detailed panel layouts, starting-junction design, numbering logic, connection and reinforcement recommendations, and benchmark-floor briefings. The project team should provide complete junction information and maintain a disciplined reuse inspection process.
The value of an aluminum formwork K panel is not its surface area, but its role as the reference for first-floor positioning and inter-floor construction joints. Accurate starter-wall setting out, correct K panel installation and disciplined line checks before the next-floor start give successive walls a stable basis for straightness, squareness and consistent appearance.
Main contractors, aluminum formwork subcontractors and procurement teams should treat the K panel as an inter-floor quality-control component, not an ordinary infill panel. When first-floor positioning, the starting junction, joint cleaning, connection and reinforcement, and reuse maintenance form a closed process, the aluminum formwork wall system can achieve fewer offsets, less grout leakage and less rework. CIEZN provides formwork engineering support, and project requirements can be submitted through its contact page.
Phone: +8618711321769
Email: alame.vicky@gmail.com
WhatsApp: +8615400055585
Address:No.88, Shuntian Avenue, Xiangyin District, Xiangjiang New District Hunan Province

 EN
EN
 RU
RU
 AR
AR
 ES
ES